Brother HL-3170CDW laser printer for cachetmakers
The Brother HL-3170CDW laser printer is a powerhouse printer for cachetmakers and other artists who want to print images onto envelopes, and is by far the best option in its price range, but you would never know it from the default driver settings.
So, you open your new printer, you lay out a large rectangular cachet, you set the page dimensions, you configure it to print on envelope stock, and you feed in your cover. This is what you get:
What is wrong with this? Let me count the ways.

All of these problems can be fixed, and the steps to do so I learned the hard (and expensive) way.
- Crumpled corner
Your printer does pass-through printing: it doesn't have to take your cover in a loop around the rollers. Not only does this prevent the crumpled corner, it results in much less curling to your covers. To enable pass-through printing, just open the back cover. - Horizontal crease
This is completely unintuitive, but you do not want to set the printer to the "envelope" setting. You want to set it to "thin paper". The reason is that with the "envelope" setting, much more force is applied to the cover as it passes through, and it picks up the crease from the back of the envelope. With "thin paper", it uses a feather-light touch, and your covers are unmarred. - Vertical streaks
This is a driver bug. If you have a cachet that covers the entire printable area, you will get vertical, one-pixel streaks. Sometimes they are subtle (as in this case); sometimes they are very apparent. You need to pad your images with a thin border of white so that (after scaling) there is at least one pixel of white at the boundaries. - Terrible vibrancy and contrast
After tons of fiddling, this is a function of "Color Mode" (set to "None"), "Print Quality" (set to "Fine"), "Color Matching" (set to "Brother Color"), and turn on the feature "Enhance Black Printing". Avoid the "Vivid" color mode, as it will throw off your colors and mess up solid black areas of your print. - Off-center
By default, the rectangle of the printout is shifted up and to the right. To accommodate this, you need to pad your image on the right and the top. I use a canvas of 3696x1968 pixels, but only cover 3626x1948 of that canvas, in the lower-left. This leaves 70 pixels of padding at the right and 20 pixels at the top, amounting to 1.9% horizontally and 1% vertically. - Crooked
This is where using your printer becomes more like playing a musical instrument and less like using an automatic device: there is no stop, in the manual feed, at 3.625″. If you use the next-largest setting, your cover will feed in skewed. You need to manually hold the feed so that it cradles the envelope between stops, and hold it against the left stop. Then it will print perfectly squarely.
Your printer settings need to look like this:


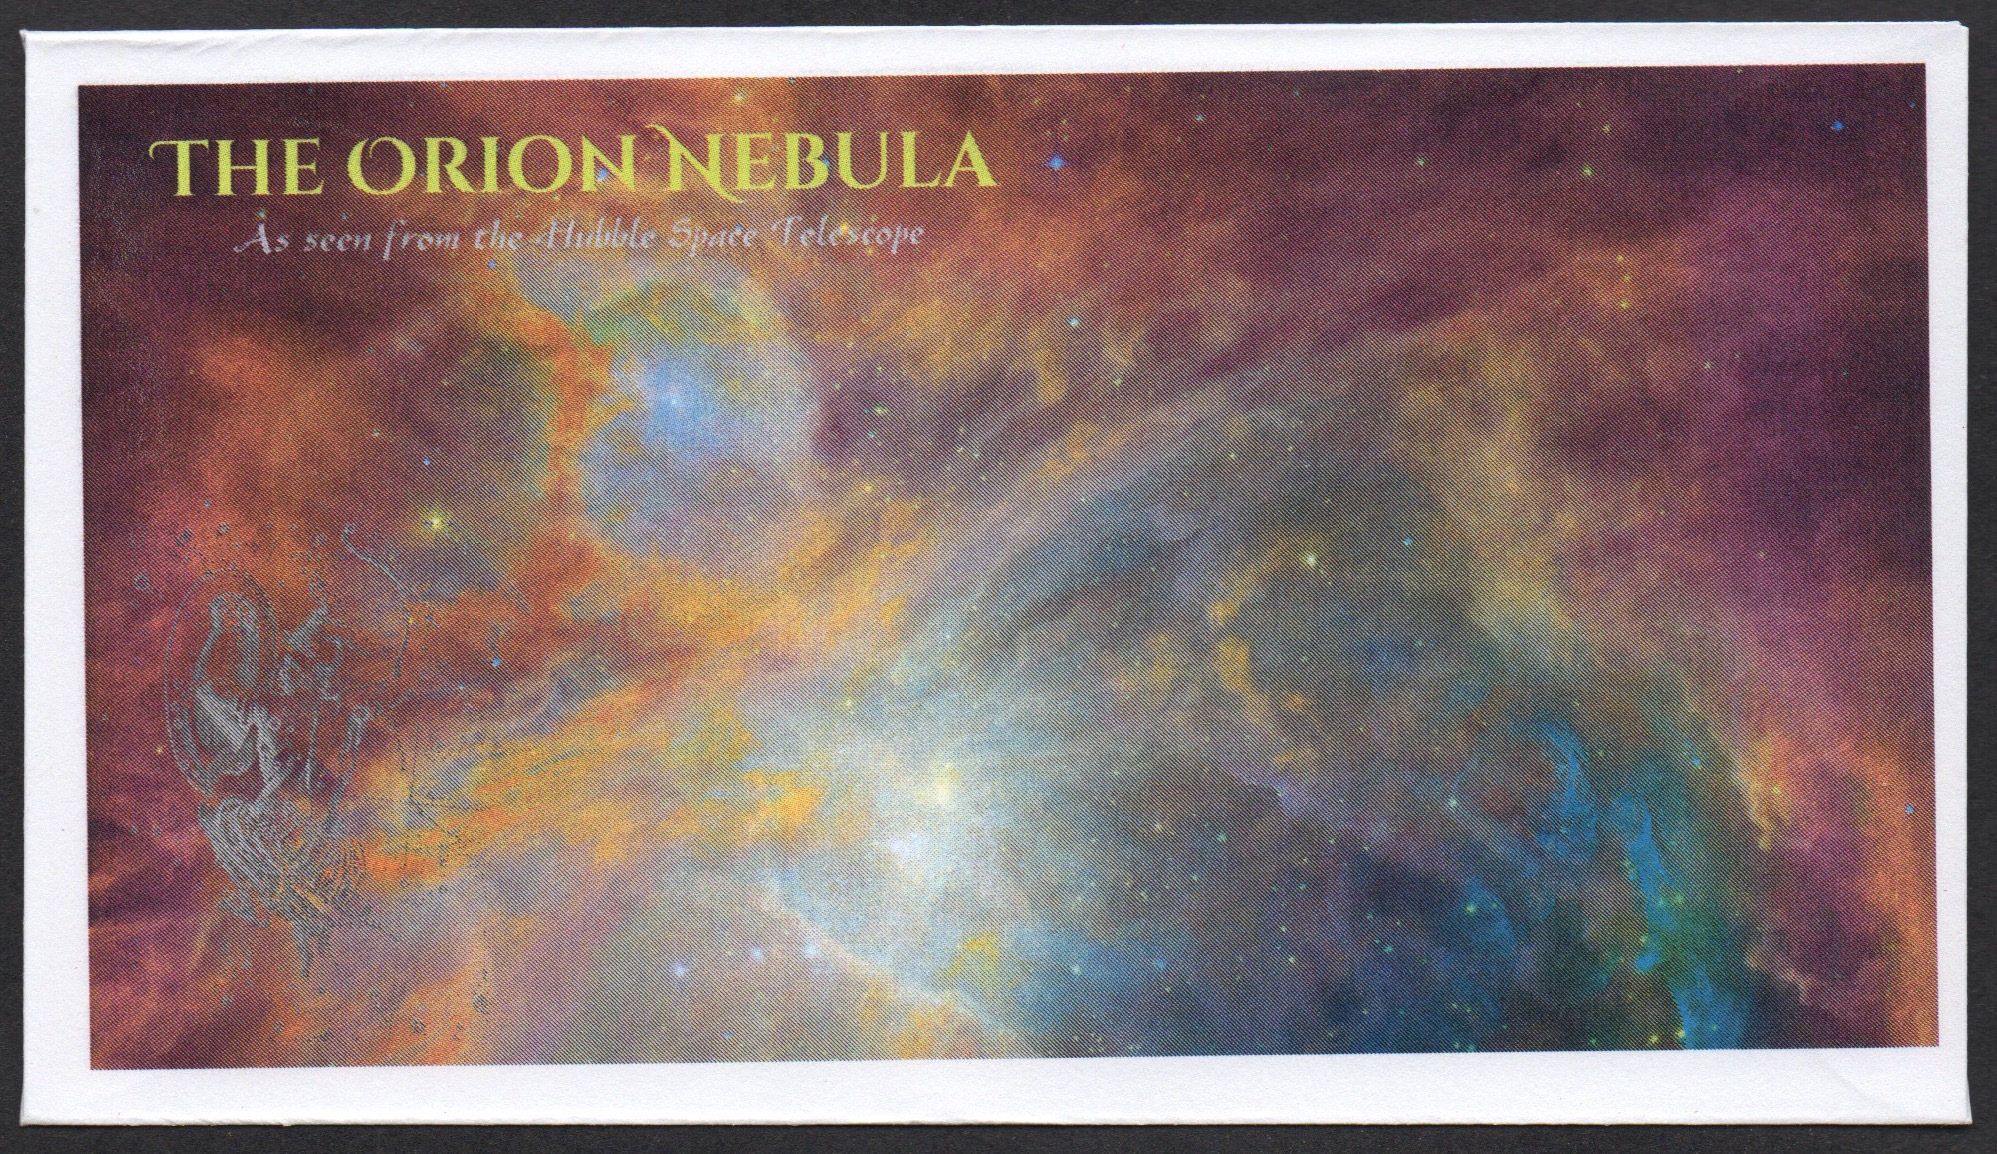
OK, done all that? This is what you end up with.

Is the effort, practice, and configuration worth it? I say "definitely". This printer is a third of the price of comparable models and prints beautifully. You just need some patience to learn to use the Brother HL-3170CDW to print your covers.


One Response to Brother HL-3170CDW laser printer for cachetmakers